Lifestyle
Create Your Own Effective Wasp Trap in Just 10 Minutes

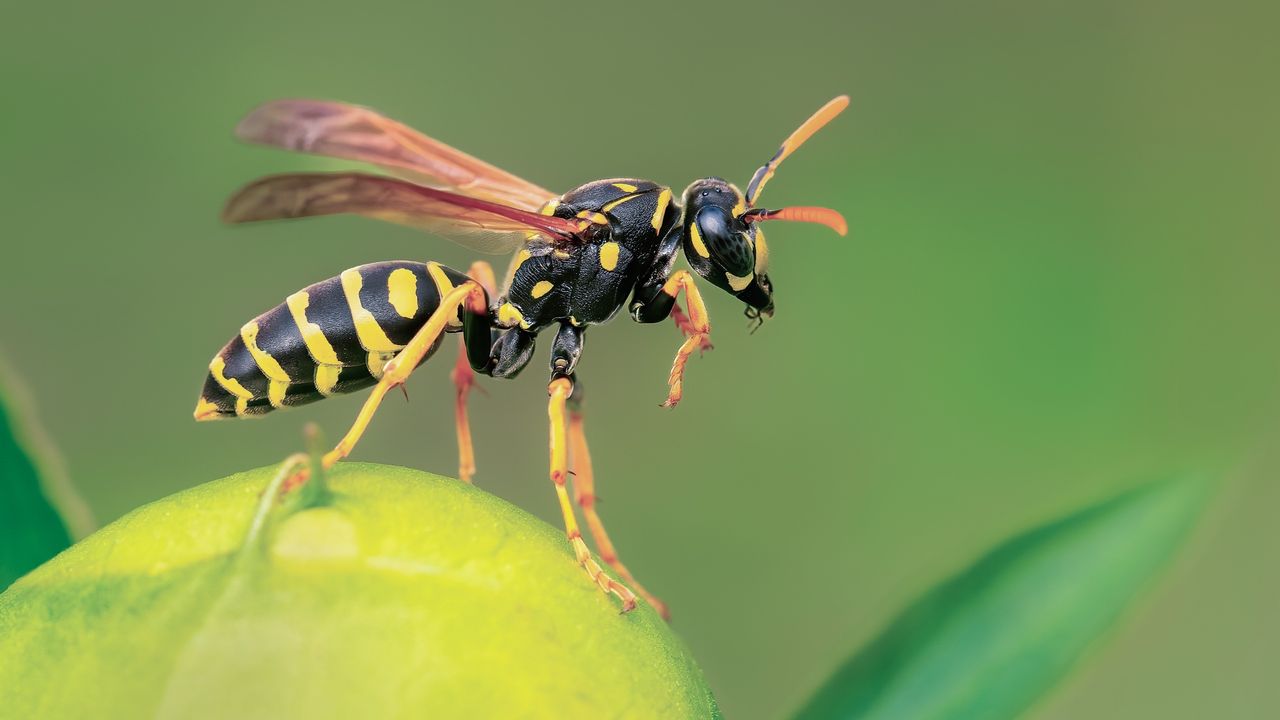
Outdoor gatherings can be disrupted by the presence of wasps, particularly for those who are allergic to their stings. While wasps play a role in pollinating plants and controlling pests, keeping them at a safe distance from patios and yards is often necessary. Instead of purchasing commercial traps, individuals can make a simple and effective wasp trap using common household items. This DIY solution can be assembled in just ten minutes and is virtually cost-free.
Materials Needed for Your Wasp Trap
To create a wasp trap, gather a few items: a two-liter plastic soda bottle, a permanent marker, a sharp knife or scissors, and bait. Most households will have these materials on hand, making this project an economical choice.
Start by using the permanent marker to draw a line around the neck of the bottle, just below where it begins to taper. For a straight line, wrap a rubber band around the bottle as a guide. This line indicates where you will cut to create the entrance funnel for the trap.
Step-by-Step Trap Assembly
Carefully cut along the line you marked, ensuring a clean cut to avoid injury. Once you have made the cut, remove the bottle cap and set it aside, as it will not be needed. You should now have two parts: the bottom section of the bottle and the top funnel-shaped piece. This design allows wasps to enter easily while making it difficult for them to escape.
The bait you choose will depend on the season. In spring and early summer, protein-based baits such as small pieces of lunch meat or raw hamburger work best, as wasps require protein for their developing larvae. During late summer and fall, sweet baits like sugar water, fruit, or a mixture of water and jam are most effective. Adding a small amount of apple cider vinegar can attract wasps while deterring honey bees. Additionally, including a drop of dish soap in the bait can prevent wasps from escaping once they enter the liquid.
To assemble your trap, flip the top funnel piece upside down and insert it into the bottom portion of the bottle, ensuring that the narrow opening points downward. The funnel should fit snugly into the bottom part of the trap. For added stability, consider taping the two sections together. If you plan to hang your trap, use a hole punch to create two holes at the top, thread wire or string through these holes, and create a hanging loop.
Once assembled, position your trap in areas where wasp activity has been observed, such as near outdoor dining spaces, garbage bins, or flowering plants. It is advisable to check the trap every few days to remove any dead wasps and refresh the bait weekly for optimal effectiveness. Regular cleaning and maintenance of the trap are essential, ensuring it remains functional and free from any live wasps during handling.
This straightforward method offers an effective solution to minimize wasp presence and enhance outdoor enjoyment. For more tips and how-tos, follow updates from reliable sources like Tom’s Guide.
-

 Lifestyle3 months ago
Libraries Challenge Rising E-Book Costs Amid Growing Demand
-

 Sports3 months ago
Tyreek Hill Responds to Tua Tagovailoa’s Comments on Team Dynamics
-

 Sports3 months ago
Liverpool Secures Agreement to Sign Young Striker Will Wright
-

 Lifestyle3 months ago
Save Your Split Tomatoes: Expert Tips for Gardeners
-

 Lifestyle3 months ago
Princess Beatrice’s Daughter Athena Joins Siblings at London Parade
-

 World3 months ago
Winter Storms Lash New South Wales with Snow, Flood Risks
-

 Science3 months ago
Trump Administration Moves to Repeal Key Climate Regulation
-

 Science2 months ago
San Francisco Hosts Unique Contest to Identify “Performative Males”
-

 Business3 months ago
SoFi Technologies Shares Slip 2% Following Insider Stock Sale
-

 Science3 months ago
New Tool Reveals Link Between Horse Coat Condition and Parasites
-

 Sports3 months ago
Elon Musk Sculpture Travels From Utah to Yosemite National Park
-

 Science3 months ago
New Study Confirms Humans Transported Stonehenge Bluestones


